
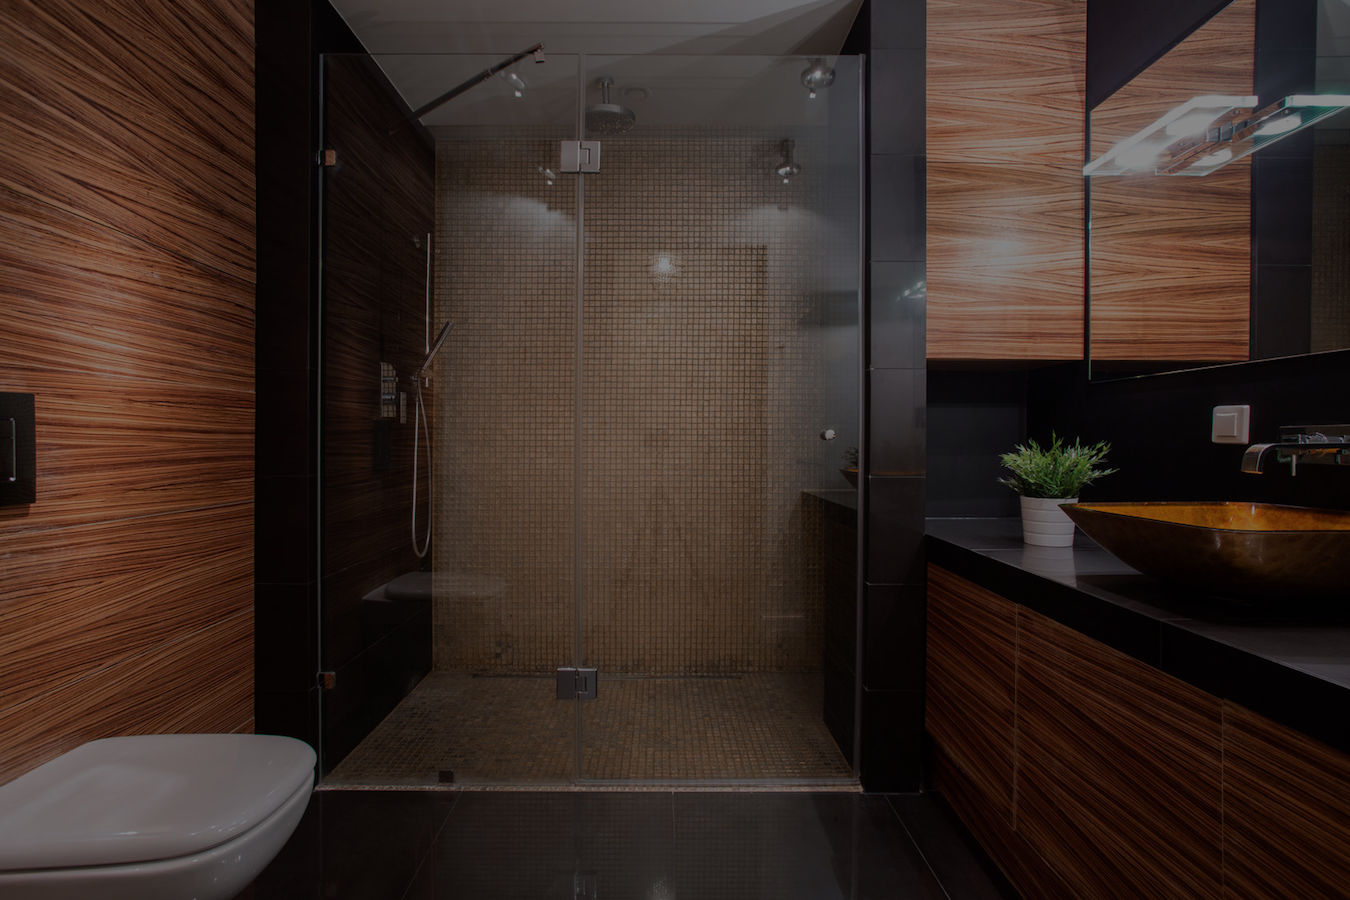
Shower Screens
Shower screens help define the wet area while keeping a bathroom visually open. The most suitable configuration depends on the available space, access and the direction of water spray.
Defining the Bathroom Space
In contemporary bathrooms, a main function of shower screens is to divide the wet area from draining stuff while at the same time keeping the room visually open. Glass panels have always been a great option as, apart from protecting the walls, they let the light in, thus eliminating the sense of the space being closed or confined. Layouts will certainly determine the types of configuration one might have, panels running from wall to wall, a corner enclosure, or a small curved cubicle for space, saving purposes. However, the quality and efficiency of your shower screen will substantially be determined by the type and quality of the fittings and accessories that come along with it, like hinges seals sliding mechanisms (doors, etc.). The key point is to keep these mechanisms working smoothly so that the water does not leak outside the designated area. On top of that, when drainage hardware is well, chosen and impeccably fitted, the shower partition is an unfussy boundary that not only functions well but also allows the bathroom to be free visually.
Advantages
Besides serving as a spatial barrier to the shower area, shower screens also keep out water from the shower area. This keeps the rest of the toilet area dry and clean, and also minimises the chances of falls on the wet surface.
Glass shower screens are recommended over the use of curtains, which are less effective when it comes to preventing water splashing out of the shower area. A simple glass shower screen with a convenient open-close mechanism will do the work more effectively and at the same time, giving your bathroom greater aesthetic appeal.
Types of Screens
- Shower screens have a variety of types and shapes to suit any bathroom configuration you have:
- Traditional design – Aluminium or PVC frames are used with a sliding mechanism, where sheet glass or acrylic panels are installed.
- Frameless design – Panes of glass are installed together with less visually obtrusive fittings to give the shower screen a clean and minimal aesthetic.
- Semi-frameless design – Semi-frameless types are usually installed in cases where frameless designs can not be installed, in order to give a clean, contemporary look
Shapes of Shower Screens
- Wall-to-wall – The simplest type of shower configuration allows both sliding and swing door types can be used for simple wall-to-wall shower screens
- Corner Style Shower – This configuration fits into small areas and allows sliding or swing panels to encourage access into the shower
- Diamond or Curved shaped cubicles – Less popular than the above options, this is perfectly suited for limited shower space while giving a unique aesthetic.
Panel Selection
The appropriate safety glazing, thickness and fittings depend on the screen configuration, panel size and selected hardware system. Acrylic panels may also be available for selected framed designs.
Durability
The durability of a shower-screen installation relies on the quality of screen, hinge, and sliding mechanisms. Water-tightness is also essential to ensure the system performs at its best.
Plan the Screen Around Water and Access
A shower screen should be planned from the bathroom dimensions and the direction water is likely to travel. The shower head, kerb, floor fall, drainage position and nearby sanitary fittings all influence where a fixed panel or door can sit. A screen can reduce splashing, but it cannot correct poor drainage or guarantee that every drop remains inside the shower zone. Identifying these conditions before fabrication leads to a more practical enclosure.
Access is equally important. A swing door needs clear space and should not collide with the basin, toilet or another door. Sliding panels avoid a swing arc but require enough overlap and a track that can be reached for cleaning. A fixed panel gives a simple, open entrance, although its width and position must provide useful splash control. We discuss how the bathroom is used, including whether a wider entrance or lower obstruction is preferred, before recommending a configuration.
Glass specification cannot be reduced to one thickness for every shower screen. The appropriate safety glazing, thickness, panel size and fittings depend on whether the screen is framed, semi-frameless or frameless and on the selected hardware system. Acrylic or other infill materials may be available for certain framed products. We confirm the compatible options for the measured opening instead of applying a blanket recommendation.
Seals, hinges, rollers and channels need regular cleaning because soap residue and mineral deposits can interfere with smooth movement and water control. Use non-abrasive products suitable for the glass, frame and hardware, and avoid hanging towels or other weight from handles and panels. If a door drops, rubs, leaks more than before or develops a loose fitting, stop forcing it and arrange an assessment. After installation, keep the bathroom ventilated and clear water from tracks and seals where practical. These simple habits help the screen remain easier to operate and make changes in alignment or sealing easier to notice.
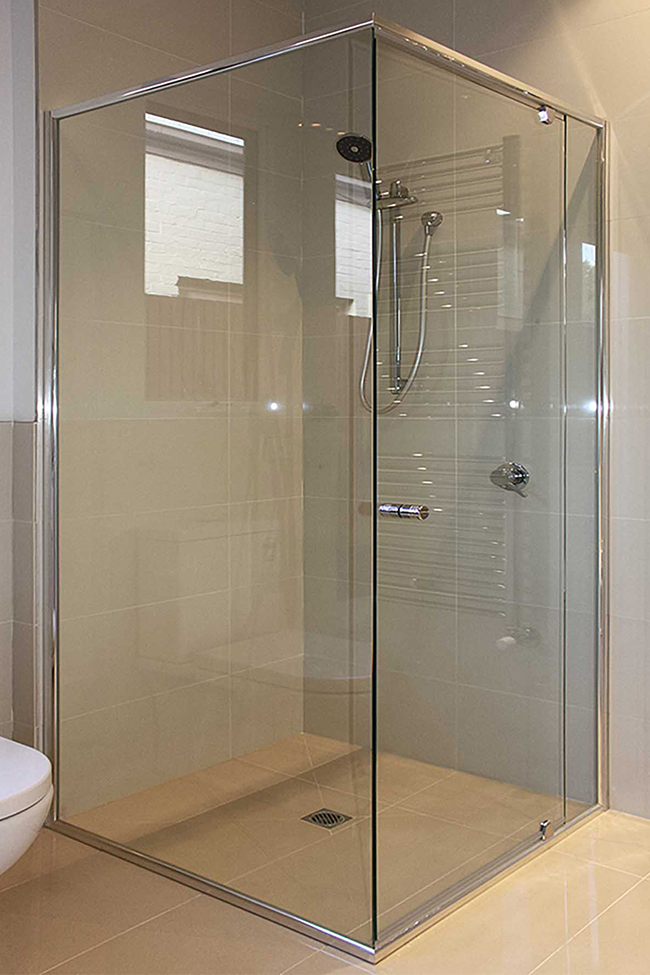
Semi-frameless shower screen

Frameless shower screen

Swing door shower screen
Plan around access, spray and drainage
A shower screen works with the bathroom layout. Door movement, fixtures, kerbs, floor fall and the direction of spray should be considered before the glass configuration is fixed.
Fixed, swing, sliding or folding
Clear entrance and handle reach
Spray direction, kerb and drainage
Taps, WC, vanity and door movement
Map the wet zone before selecting panels
- 1
Opening width and screen height
- 2
Door swing or sliding route
- 3
Shower-head and spray direction
- 4
Kerb, floor fall and drain position
Screen size alone does not determine splash control; the surrounding bathroom matters.
Prepare for measurement
- Wide photographs of the bathroom
- Approximate shower-zone dimensions
- Location of taps and shower fittings
- Bathroom door and fixture clearances
- Preferred privacy and opening style
Approximate measurements and photographs help with initial scoping. Final dimensions and site conditions should be verified before fabrication or installation.
A practical sequence
- 01
Map
Review fixtures, access route, wet zone and drainage.
- 02
Measure
Verify wall conditions, opening, kerb and floor levels.
- 03
Configure
Choose fixed and operable panels around usable clearance.
- 04
Check
Confirm movement, access and visible junctions after fitting.
Confirm the completed work
- Comfortable entry width
- Panel movement clears fixtures
- Handles and hardware operate
- Screen junctions visually checked
Frequently Asked Questions
| Question | Answer |
|---|---|
What types of shower screen designs are available? | Traditional (aluminium/PVC frame with sliding panels), frameless, and semi-frameless designs. |
What shapes of shower screens can be installed? | Wall-to-wall, corner style, and diamond or curved-shaped cubicles depending on your bathroom layout. |
What glass thickness is recommended for shower screens? | The suitable safety glazing and thickness depend on the panel size, framed or frameless configuration and compatible hardware. We confirm the specification for the measured opening. |
Are shower screens better than shower curtains? | A correctly planned glass screen generally provides stronger splash control than a curtain, although drainage, floor fall, screen size and the direction of spray still affect the result. |
What affects the durability of a shower screen? | The quality of the screen, hinges, and sliding mechanisms, along with water-tightness of the installation. |